
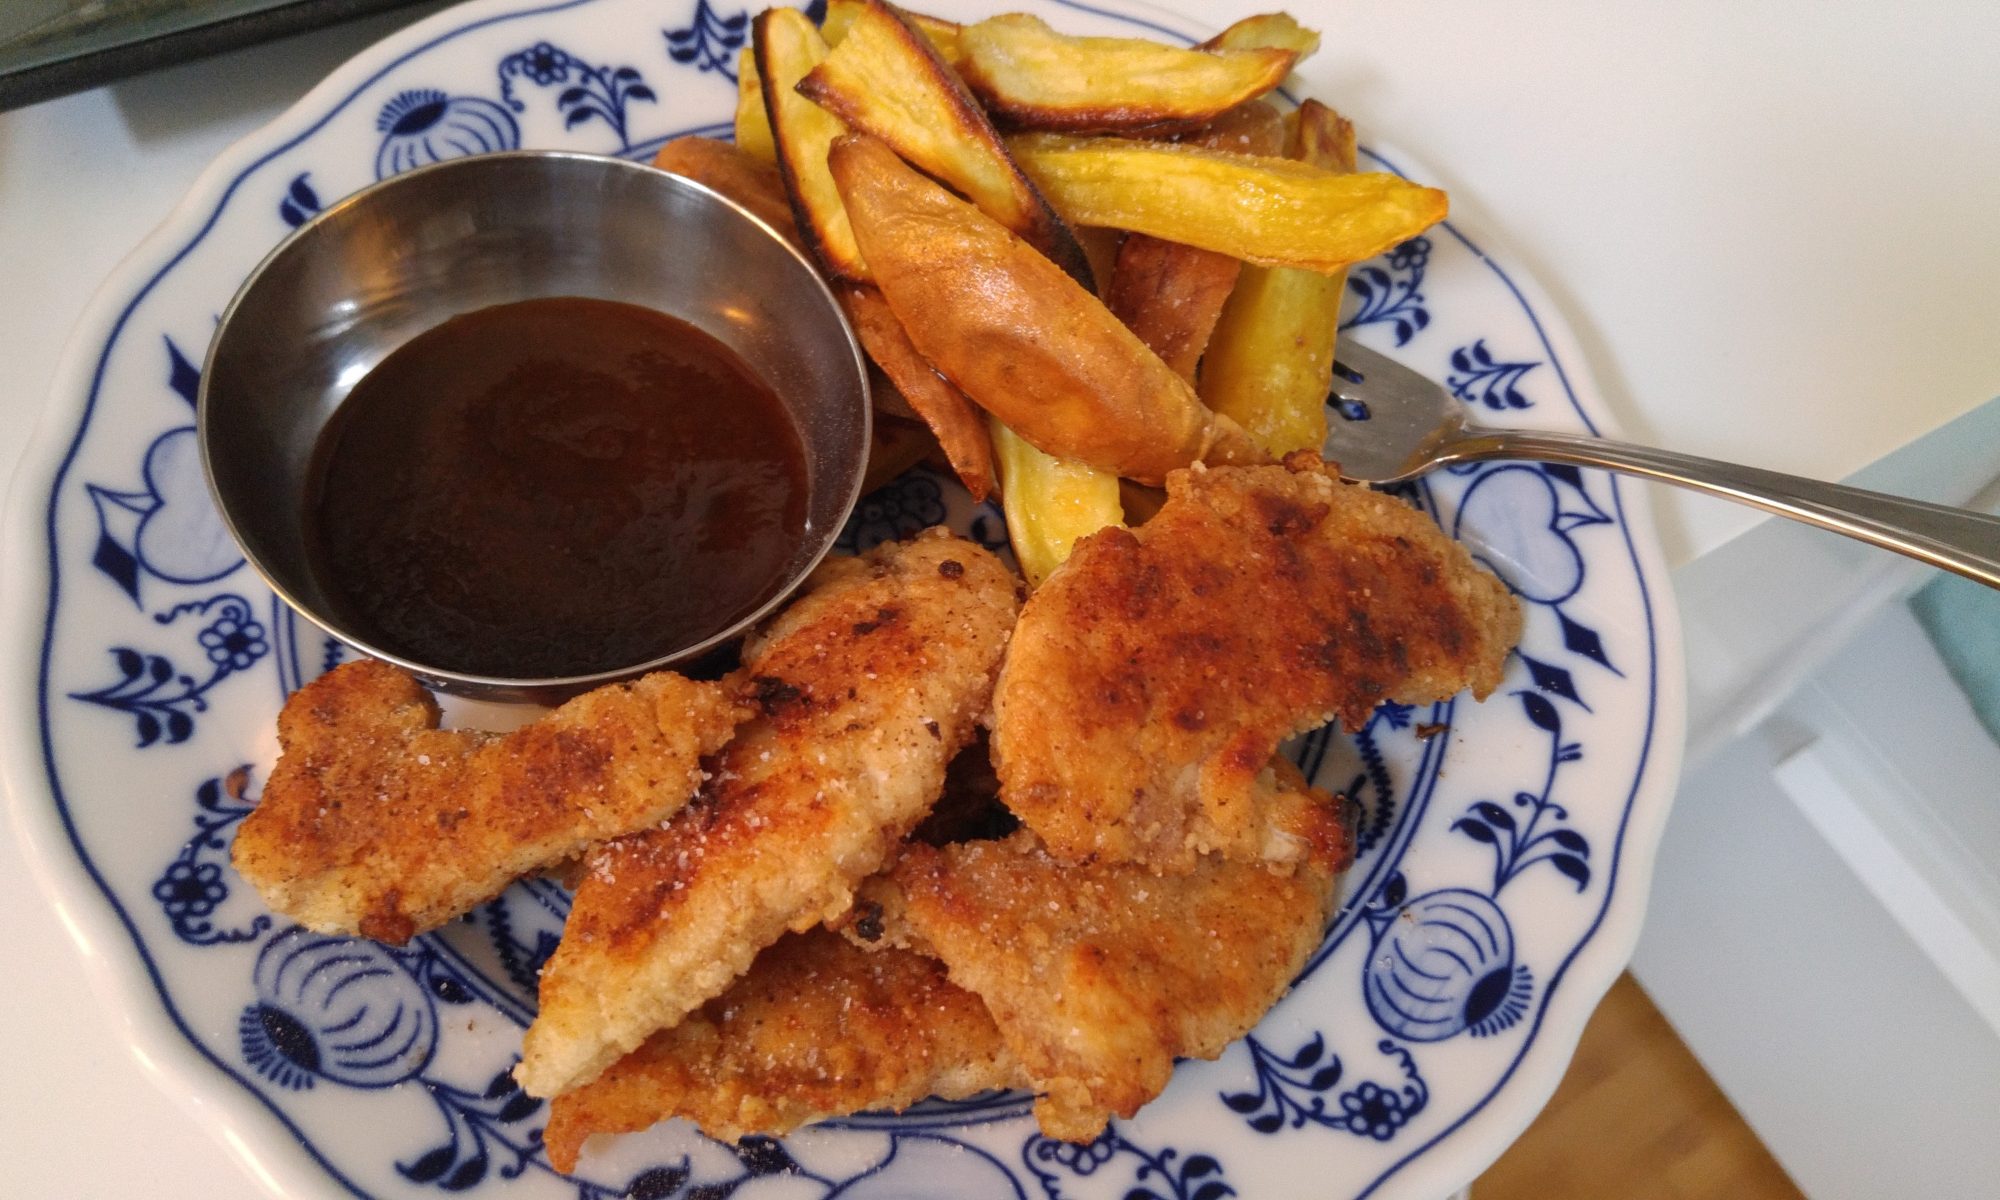
I’ve experimented with a few different versions of breading for chicken strips, but my favourite version is a combination of tigernut and arrowroot flours. This tends to be a pinch of this, a dash of that sort of recipe, so I will talk in ratios and allow you to adjust for the size of batch that you’re making. (If you’re making them with the fries, skip ahead and do the fry steps first!)
Chicken Strips:
In a shallow dish (like a soup plate), combine tigernut flour and arrowroot flour in roughly even amounts, with slightly more tigernut than arrowroot. Add salt to taste. If you tolerate them, a sprinkle of garlic powder, paprika, and black pepper can also help to take this recipe to the next level. Combine the dry ingredients together with a fork. Add in water and stir to make a slurry. Cut raw chicken into strips, and coat with the slurry.
Alternately, don’t add the water, but rather dip your chicken strips in either water or beaten egg, and then roll them in the dry ingredients. I will leave it up to you to experiment and decide which version you like the results of best.
Cover the bottom of a safe non-stick pan with avocado oil, coconut oil, or duck or chicken fat, warmed over medium heat. When the pan and cooking fat are hot, place the strips in the pan. They should come free when they are ready to turn over (you want to wait until the first side has started to get at least a bit golden before trying to flip). Cook until both sides are crispy and golden, and the chicken has cooked through.
For the fries:
While we’re healing/managing autoimmune conditions, some of us may find that we tolerate white sweet potatoes, Japanese sweet potatoes, and yams better than potatoes. This is because potatoes are part of the nightshade family and can contribute to inflammation, as well as being cross reactive with gluten. For that reason I will describe this as a recipe for yams and sweet potatoes, but you could apply it to potatoes too if you find that you tolerate them.
Preheat your oven to 375℉. Get out as many cookie sheets with sides, or glass baking dishes as will fit side by side in your oven. You will also need a mixing bowl, cutting board, vegetable peeler, and large knife.
Personally, I prefer to buy longer, thinner, white sweet potatoes for this purpose. If they are organic and the skins are in good shape, I leave the skin on (trimming off any bad bits). I then cut them to create approximately 3 inch/6 cm lengths, cutting each of those sections in half, and those halves into quarters. You want the thickest point on any fry to not exceed roughly ½ an inch/1 cm. Alternately, you can peel and cut larger sweet potatoes/yams to make fries of a similar size. Place the cut fries into the mixing bowl (if you have one with a lid that can be especially good for tossing them with oil and spices).
Drizzle in avocado oil (sometimes I use olive oil for the flavour, but avocado oil is better for high temperature cooking). Add salt to taste, along with any other herbs and spices you enjoy. I would recommend trying marjoram and garlic powder, paprika and garlic powder, taco seasoning, oregano, thyme, and garlic powder, or just simple salt and pepper. Toss the fries with your chosen seasonings, making sure they are well coated with oil, and then spread them out in a single layer across the baking trays (use parchment paper for extra easy clean up). Place them in the oven. Turn fries over after about 20 minutes. Bake until golden and crispy on both sides (this may take between 30 minutes and 1 hour depending on your oven, the moisture content in your yams/sweet potatoes, and the thickness you have cut them to).
Serve with guacamole, AIP BBQ sauce, ketchup, or a “nomato” ketchup. Enjoy!
PS: I find that both of these items freeze well after they’ve been cooked and cooled, and make an excellent travel meal.